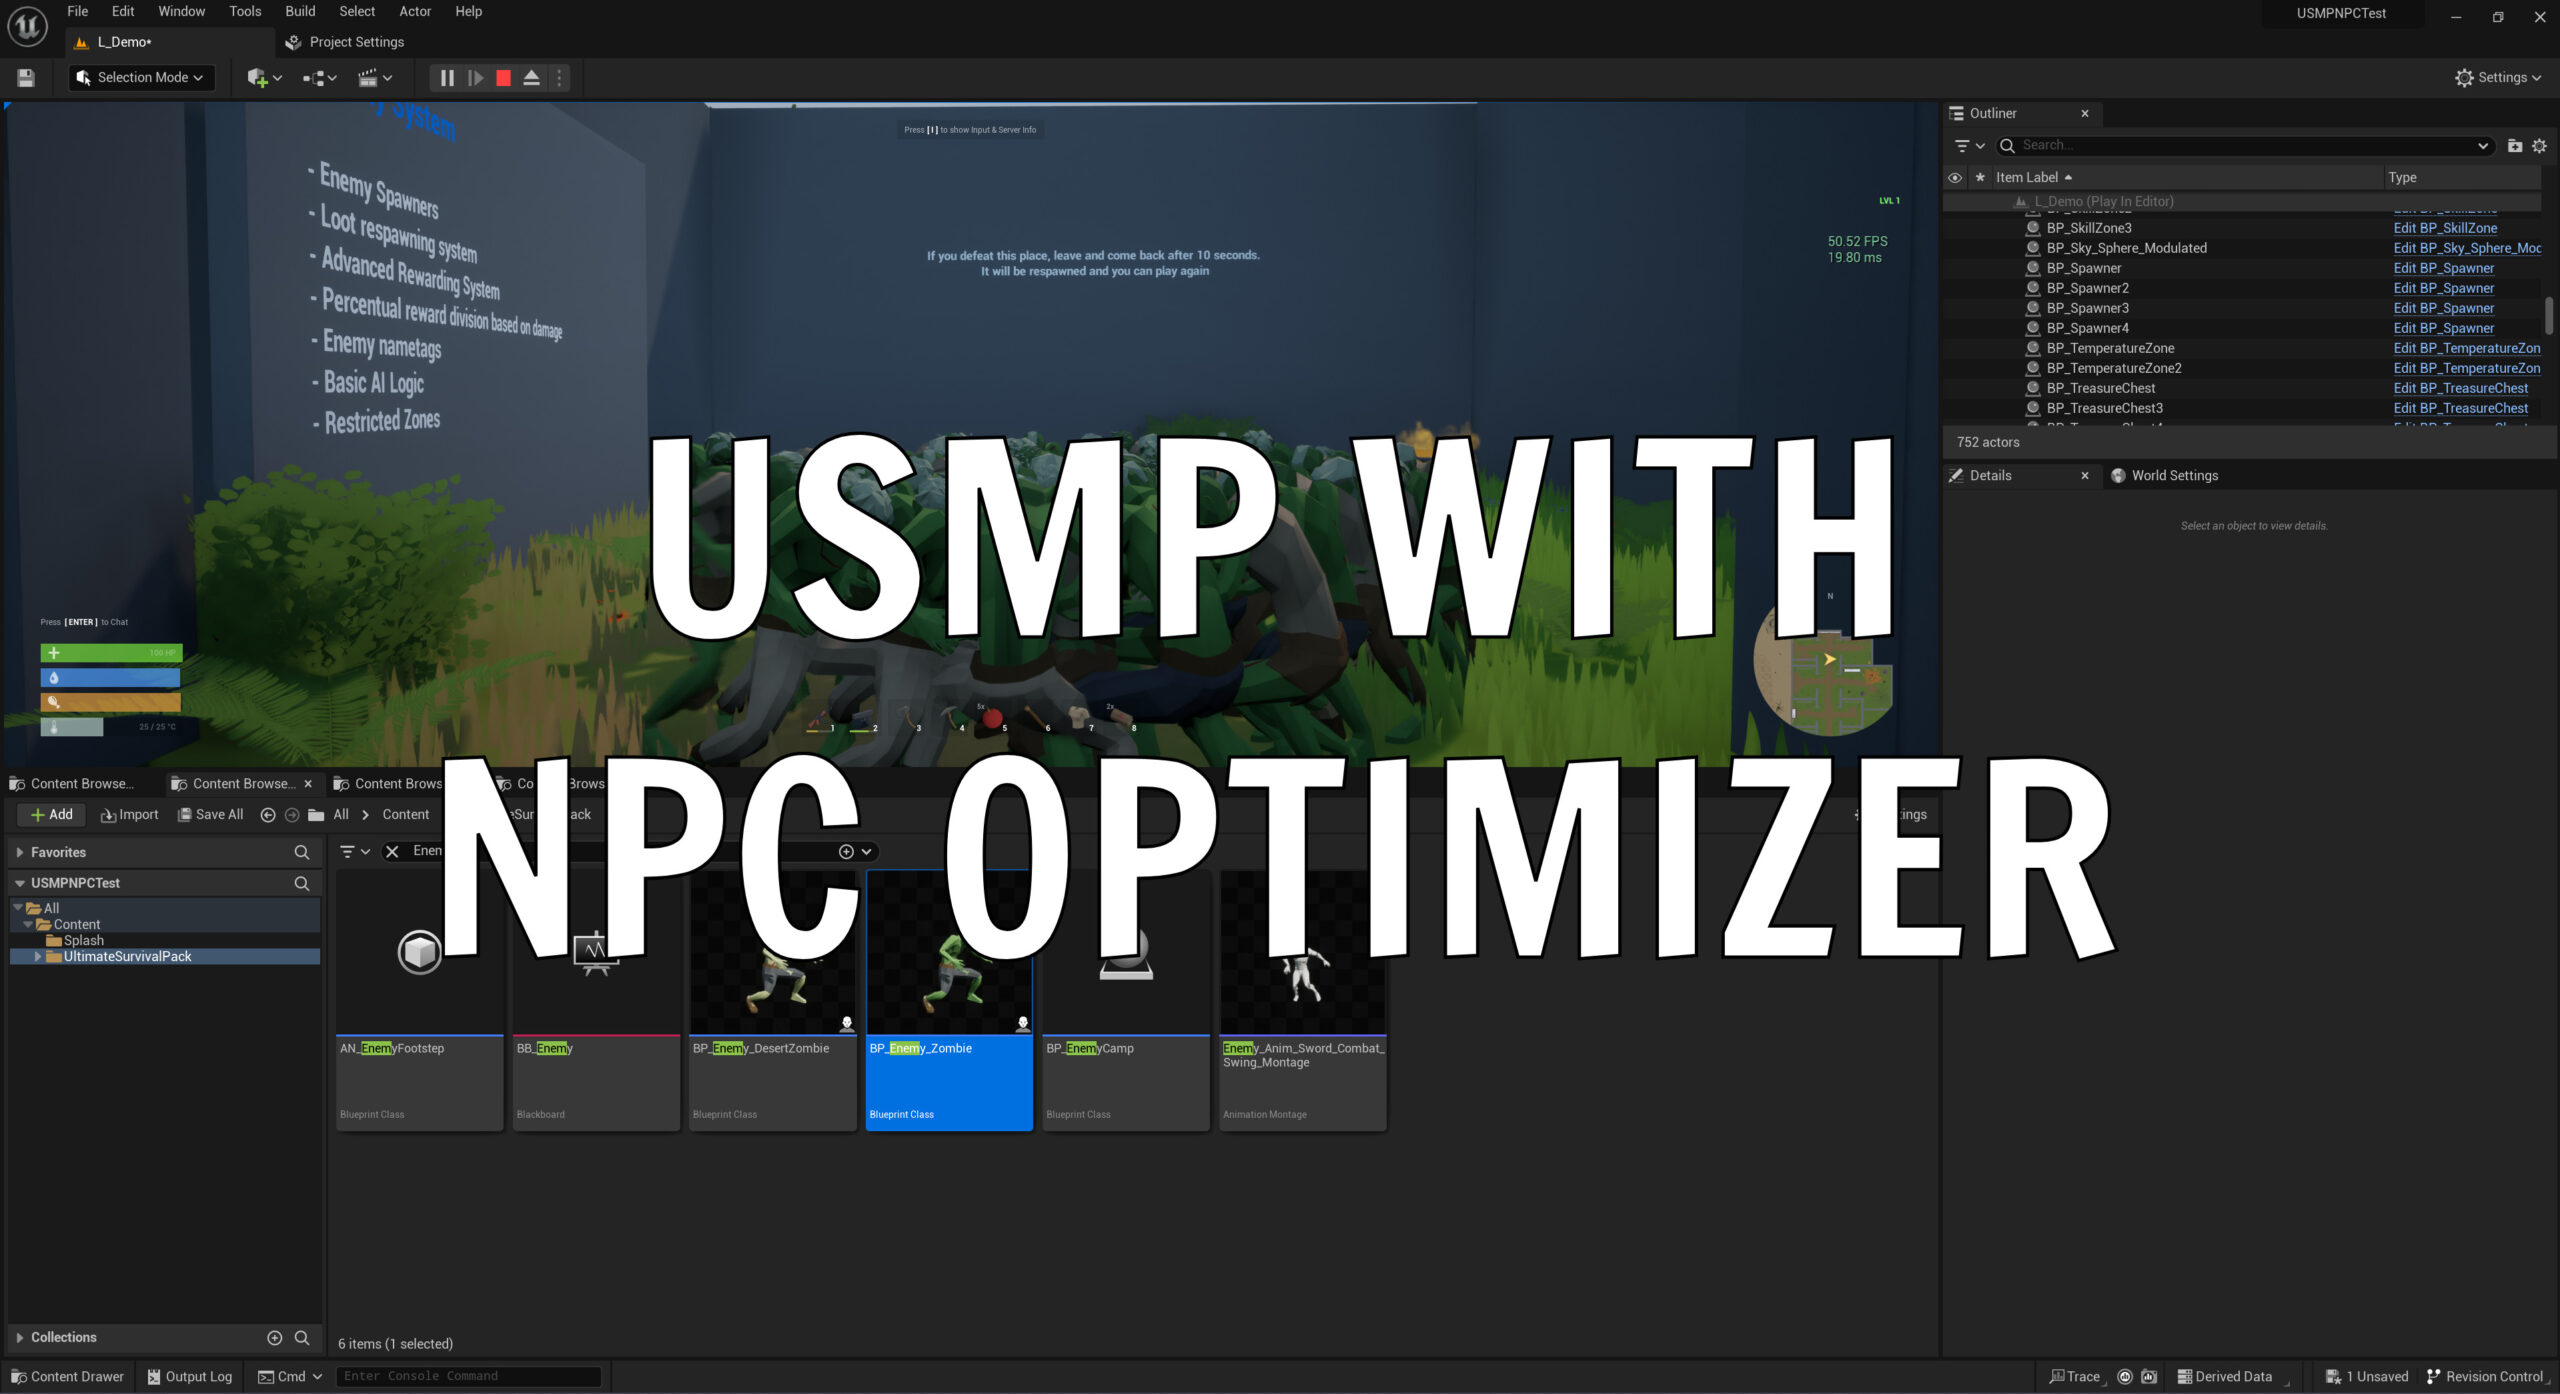
Immerse your players in a seamlessly smooth gaming environment by utilizing the NPC Optimizer and USMP from the Unreal Engine Marketplace.
For developers aspiring to craft a heart-pounding survival game, USMP emerges as an outstanding template. It comes laden with a plethora of customizable options, providing a robust foundation that can be tailored to conjure a wide array of survival scenarios and environments. Whether it’s a desolate post-apocalyptic world or a dense, perilous jungle, USMP offers the flexibility and depth that empowers developers to breathe life into their most daring survival game concepts.
The Test Bed: Utilizing USMP and NPC Optimizer
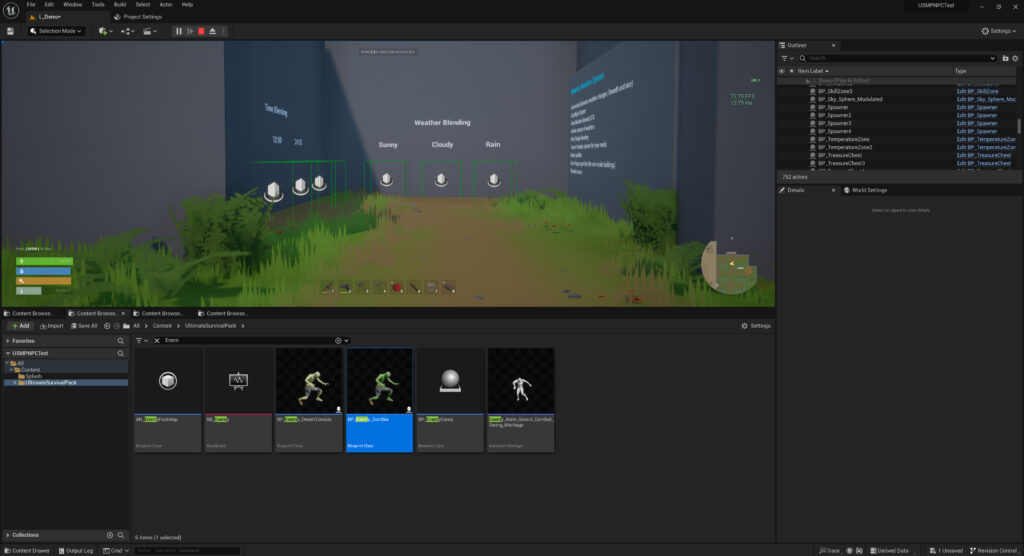
Our experiment was set in the versatile environment of Unreal Engine 5.2.1, using a USMP project directly procured from the Marketplace, providing a solid and modifiable foundation for various game designs. To stress-test the environment, we spawned 60 enemy zombies within the default level, thereby establishing a base performance benchmark of 50 FPS.
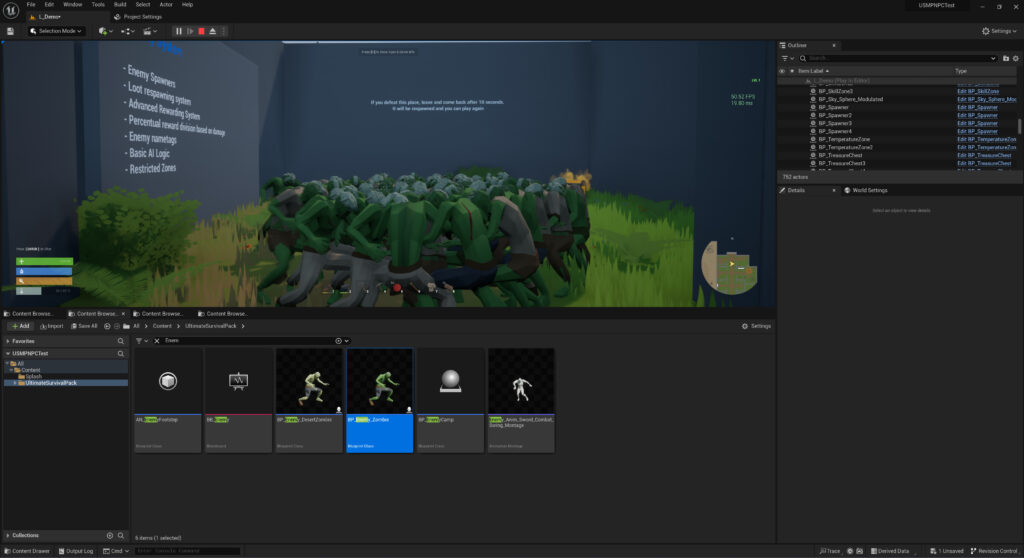
Incorporating another Marketplace find, the NPC Optimization Proxy was seamlessly added to the Enemy Zombie blueprint.
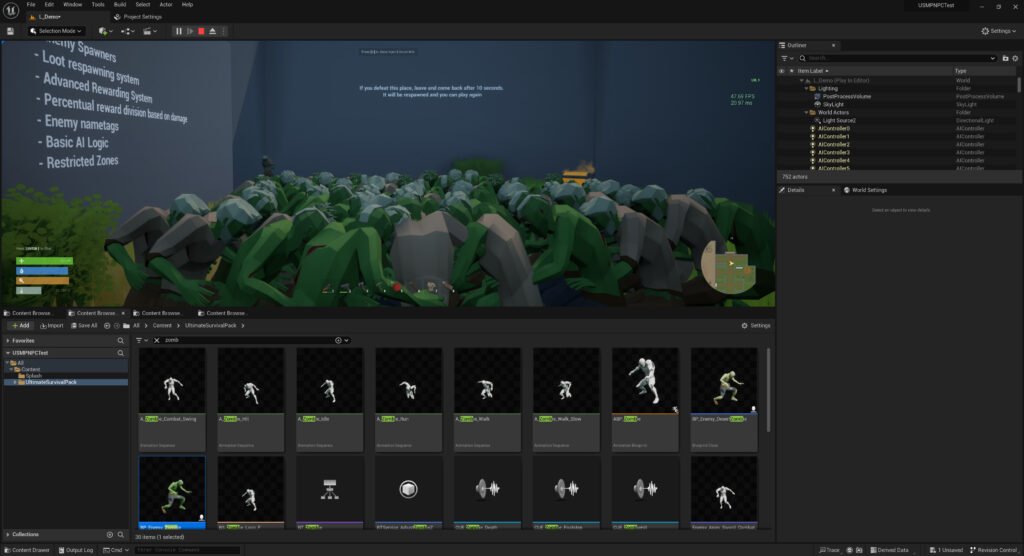
Despite a marginal FPS dip to 47 upon replaying the level without any additional tweaks, this scenario persisted with all AI still plainly visible to the character. But the real magic unfolded once the NPC Optimizer took the stage…
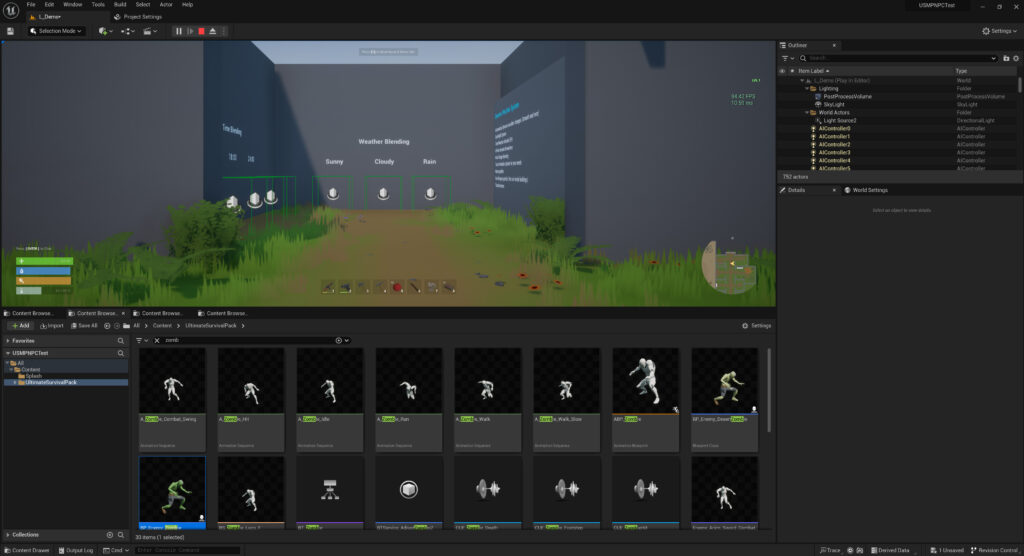
Astoundingly, FPS soared to 94 when the AI characters were obfuscated from the character’s view, compared to the 72 FPS achieved with the unmodified USMP—a formidable 30% leap in FPS.
Why this Enhancement is a Game-Changer
Envision developing an elaborate open-world game, where not all USMP entities persist in the player’s perspective. There may be instances where a mere 20 zombies lurk in front of a character. This translates to your client not being obligated to load every intricate component of USMP AI when it’s superfluous, effectively conserving performance and propelling your player’s FPS to new heights!
It’s imperative to note that AI is but a single element impacting your game’s performance. Numerous other facets remain to be optimized, and while the NPC Optimizer brings substantial improvements, it’s not a universal remedy.
We’re eager to hear your insights and field any questions. Dive into the conversation below!
Integration Guide: Seamlessly Blending NPC Optimizer with Your Project
Embark on a journey to elevate your project by integrating the NPC Optimizer. Follow this straightforward guide to ensure a smooth addition to your Unreal Engine setup.
Step 1: Plugin Installation
Begin by installing the NPC Optimizer plugin. Navigate to the Epic Launcher, and from there, add the plugin to your Unreal Engine installation.
Step 2: Enable the Plugin
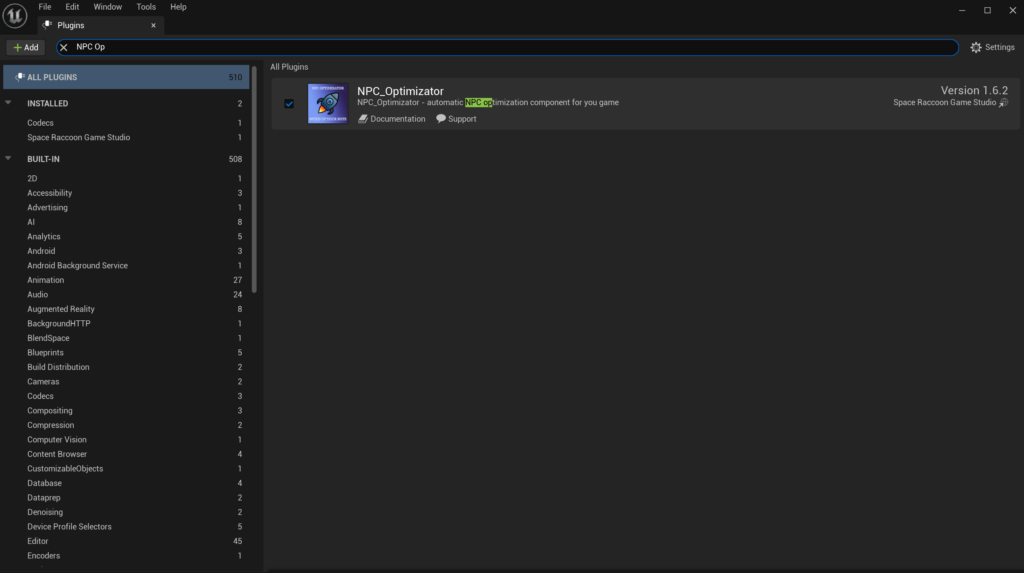
Launch your project and proceed to the ‘Plugins’ section. In the search bar, type “NPC Optimizer”. Upon locating it, click the adjacent tick box to enable the plugin.
Step 3: Restart the Engine
Ensure that all changes are applied correctly by restarting your Unreal Engine.
Step 4: Add the NPC Optimizer Component
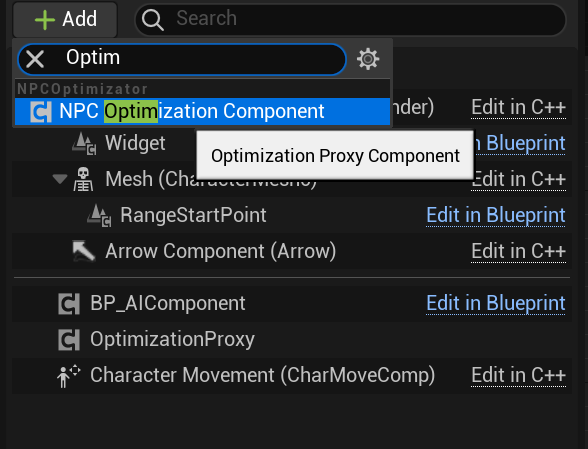
Open an AI component (for instance, the enemy zombie) within your project. Click on ‘Add Component’ and search for “NPC Optimization”. Select it to add it to the blueprint.
Step 5: Save and Compile
Upon adding, ensure to save your progress and compile the blueprint. Your NPC Optimizer is now active and ready to enhance your AI!

